While it’s fun to have someone to do things for, it could be more practical. Most of the time, you’ll need to rely on yourself. Not only are there benefits to doing things yourself, but it’s gratifying as well. But we understand how challenging it can be to try things out when you need help figuring out where to start. Well, mate, you are in for a treat.
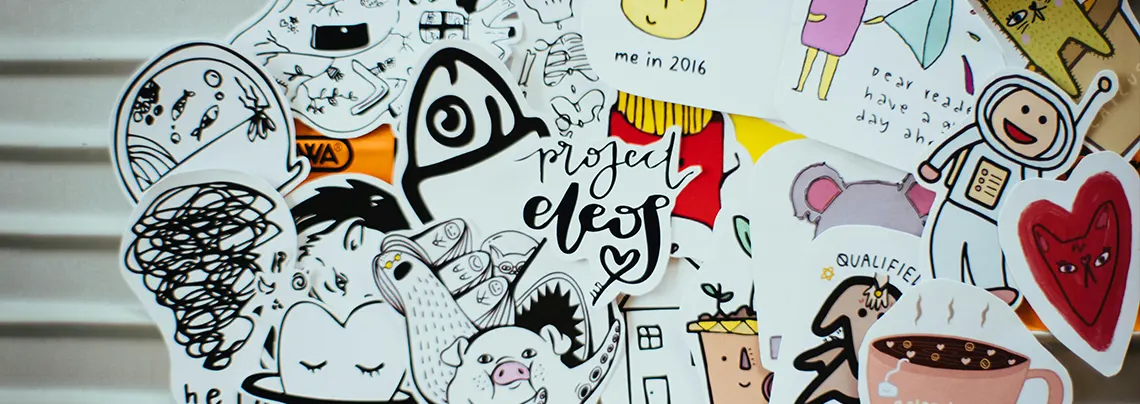
All across different hobbies and business ventures, decals have been a prominent tool used for multiple other things. As such, you’ll most likely encounter them somewhere along the line. The tricky thing is that decals take a lot of work to apply. Similar to stickers, decals are more complex to use. To ensure that you have an easier time and that the graphic design skills you’ve cultivated are well-spent, we’ve created a step-by-step guide for you to use.
Here we go!
Step 1: Prepare the Surface
So the first step doesn’t really have anything to do with the decal itself, but the surface you are going to put it on. First, you need to make sure that the surface you are putting it on is suitable to the kind of decal that you have. While custom decals are versatile and can survive being placed anywhere, you should always be sure.
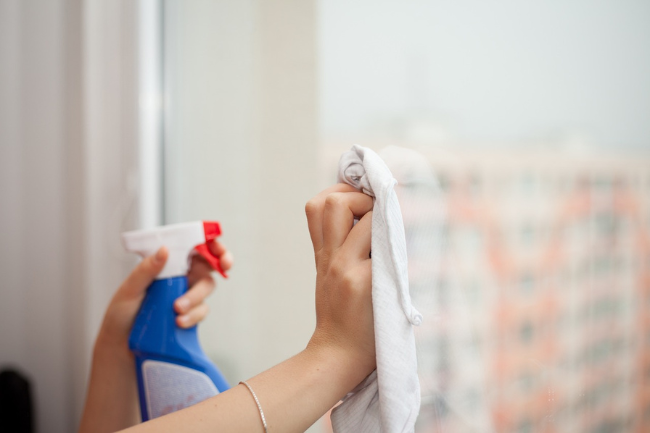
Now, once you’ve decided on what surface you’re going to use, you should clean it so there isn’t any grease, oil, dirt or other residue on it. Neglecting to do this can prevent the decal’s adhesive from sticking properly and peeling off prematurely. We recommend that you make use of soap and hot water or isopropyl alcohol instead of using glass windows or other cleaning products.
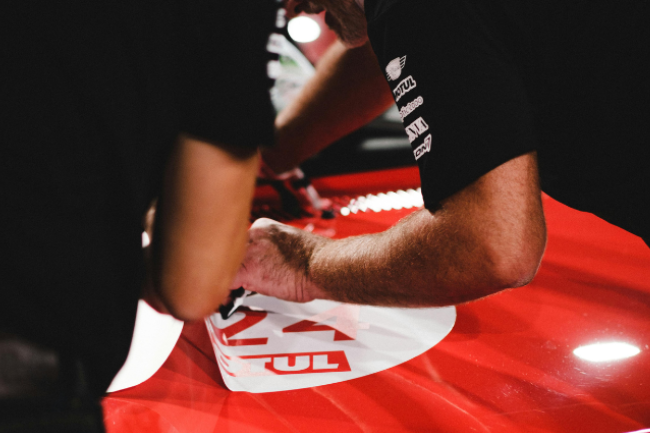
Step 2: Peel and Apply
Once you’ve got everything set, it’s time to go get the decal. As we’ve mentioned before, there’s a lot more to decals than just applying it on a surface. When peeling off the decal, you need to be careful about the size. So, you may want to do it in a single motion or slowly peel it off the backing before applying.
Depending on where you apply it, the process can be different. For example, applying truck decals may take a bit more skill. We suggest that you use a measuring tool when you are applying the decal to maximize the accuracy. You should also have a tool with a straight edge like a credit card to smooth out the decals as you are applying it.
Step 3: Finishing Touches
Do you want to apply the decal? Good, now we are on to the finale. First, you’ll want to leave the decal on the surface for some time. Depending on what surface you’ve placed it on, it may take from a minute to at least 30 minutes. To speed up the process, you can heat it up using a heat gun, blow dryer or leave it up to the sun to get the job done.
After some time, the decal should be ready to be peeled off. Do it slowly and steadily to ensure that no mistakes are made during the process. You would want to make sure the entire process runs smoothly when you’re at the finish line. Once the transfer tape is peeled off, then take out your credit card! You’ll need to smooth out any air bubbles that may appear, and you are good to go!

Final Thoughts
And that is it for the guide. We hope that you’re able to apply your decals without any trouble after reading through our little guide. We are happy to provide you with more insight on design, guides, and a little bit of art history in our blogs.