
When creating things on your own, it can be hard to know where to get started. This is especially true when you are creating something as crucial as marketing tools. For smaller businesses, your marketing efforts will propel you to success, so it’s important to get it right. But how do you do that when you are just getting started? Don’t worry; we are here to help you.
In today’s blog, we are going to be showing you how you can create designs using a very versatile marketing tool: stickers! From promoting events to marketing all your exciting products, these tools are great at attracting people’s attention, no matter what kind you choose. As such, your design will need to perfectly show off your marketing tools.
Now, let’s begin our guide!
Step 1: Set Everything Up!
Let’s start with the first step, which is quite straightforward. You just need to set up the document we’ll be using to design your sticker.
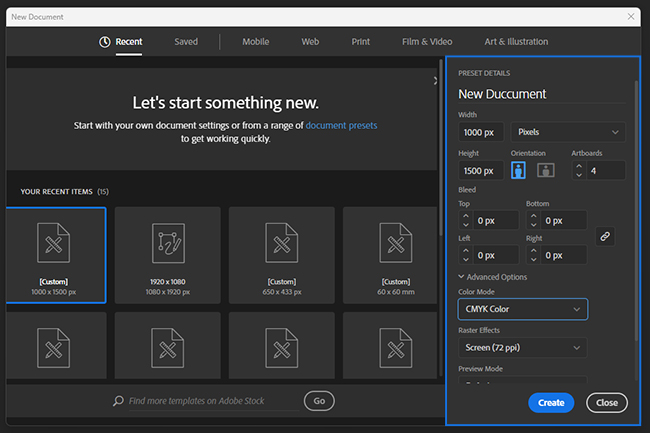
First, you want to open a new file. Then select the size you desire (for example, these art paper stickers come in 1 x 1, 1.5 x 1.5, 2 x 2, 2.5 x 2.5). Next, you want to select the CMYK color profile and set the resolution of your design to 300ppi. This ensures that everything comes out looking great when you print it out. You can also check printers to see what type of sizes they offer to know what to expect.
Step 2: Find a Guide
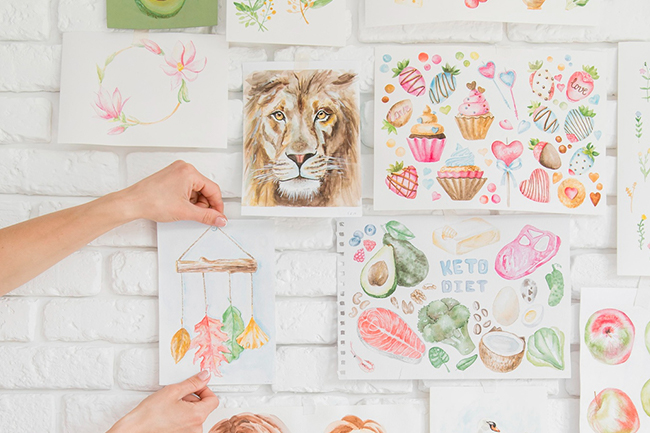
While this step is rather optional, we still recommend that you use a point of reference when you are creating your designs. It can inspire you and make the design come out even better than before. It doesn’t have to be anything fancy; you can use a sketch you made or a photo of the thing you have in mind. Simply upload your reference and drag it into the workspace so you can start.
Step 3: Planning and Designing
Before you dive into designing your sticker, it’s crucial to have a clear plan in place. This is especially important if you’re creating promotional materials. A brand logo, for instance, should convey a different message than a fun design for giveaways. Having a solid plan will ensure your sticker serves its intended purpose.
Once your plan is in place, you’re ready to bring your sticker to life! In this guide, we’ll be using simple shapes to demonstrate the process. You can start by selecting the Rectangle Tool from the side and creating the shape you want. Feel free to experiment with the available options to find the perfect shape and size for your sticker.
Step 4: Add Your Designs, Colours, Textures, and Graphics
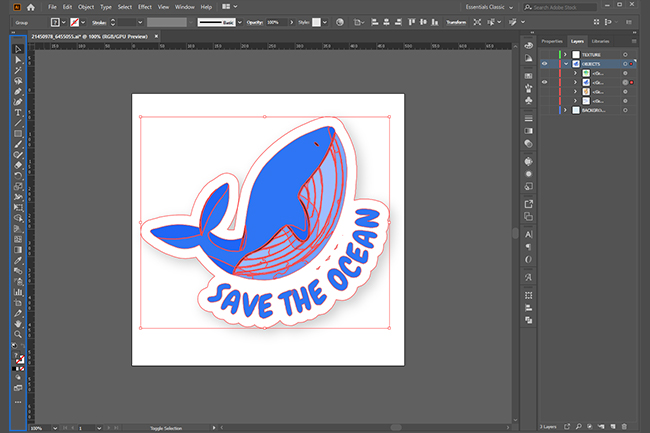
This is the step that you’ve been waiting for. If you have a design already ready, you can simply upload it to the workstation and place it on your shape. Ensure that everything looks good and you are all set.
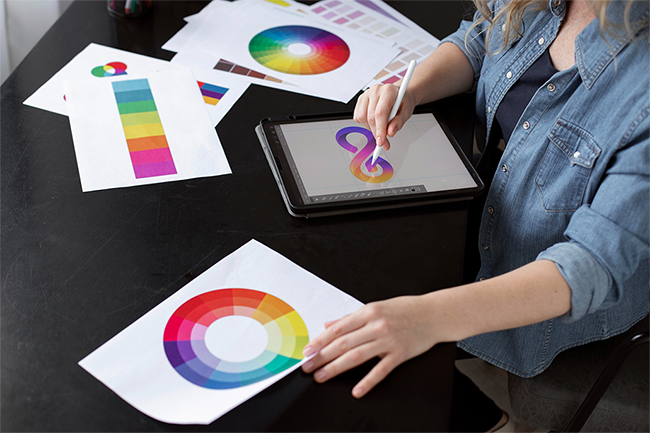
If you are starting from scratch, then it gets a bit more complicated. You’ll want to start by selecting a colour palette that fits your design ideas. If you are having trouble deciding, Adobe colours and other colour palette generators will assist you in finding the best colours for what you want. Use the gradient tool if you want to add texture and depth to your background or designs.
If your design happens to include text, use the Type Tool (T) to add different typography. We encourage you to try out different fonts. Also, using different fonts can help, depending on what type of sticker you are trying to make. For example, you want to have big, noticeable numbers on discount stickers to let people know about the current promotion. Going back to what we’ve said before, you should have a strong plan in place before you decide how these stickers will turn out.
Final Thoughts
And we are done! Just save your sticker, and it will be ready to print! Now you may be asking, well, what about printing the thing? Although it may seem simple enough, preparing your designs for printing is a whole different beast. We’d like to go in-depth on our next blog, so be sure to stick around for that.
But if you don’t feel like printing the stickers yourself, you could ask professionals to do it for you. There are several printers who can help bring your vision to life! They can even help you improve your designs a bit. So be sure to check which printers are the best around Canada! See you soon!