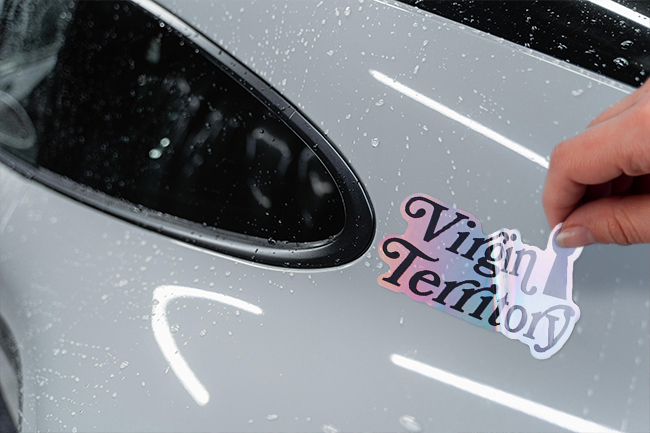
No matter where you are or what industry you happen to work in, you will probably notice that many cars have decals on them. Automotive marketing is a fantastic way for small and large businesses to gain some attention. But despite how great the potential is, there are some drawbacks. The biggest one that many small business owners encounter is when they need to have the decals removed or replaced.
Fortunately for you, we are here to help out. The blog that we have today is going to cover the way you’ll be able to remove decals from your car. If you’ve chosen the right printing company to print your stickers, then you might find it extra difficult to remove. Follow the steps in our blog to get rid of your old decals!
Step 1: Preparation
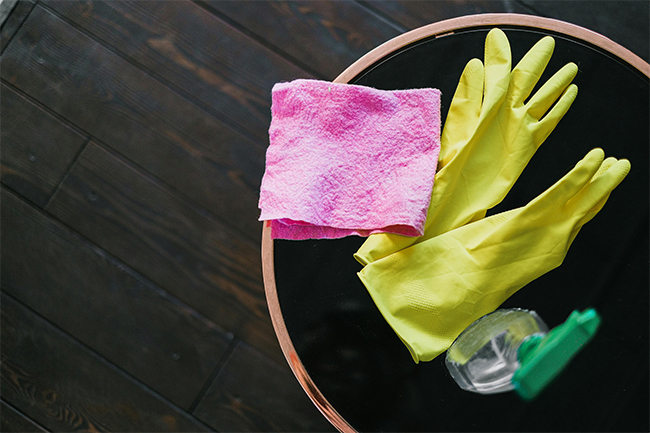
Before you even start removing the decal or car sticker, you should look into preparing your work area. You’re going to need a few tools, like a plastic scraper (be sure to avoid metal ones to avoid any damage to the vehicle), a spray bottle with foamy water, a microfiber cloth, and some rubbing alcohol. You can also get a decal remover if you can find it. Next, you can find a nice, cool spot that is away from the sun. You don’t want to get sunburnt out there, do you?
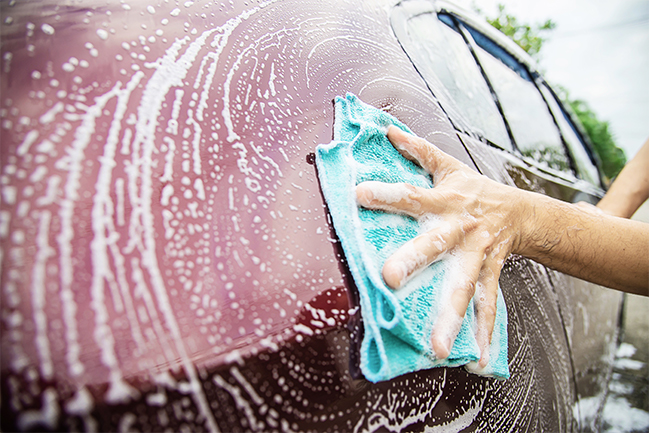
Step 2: Clean the Decal Area with Water
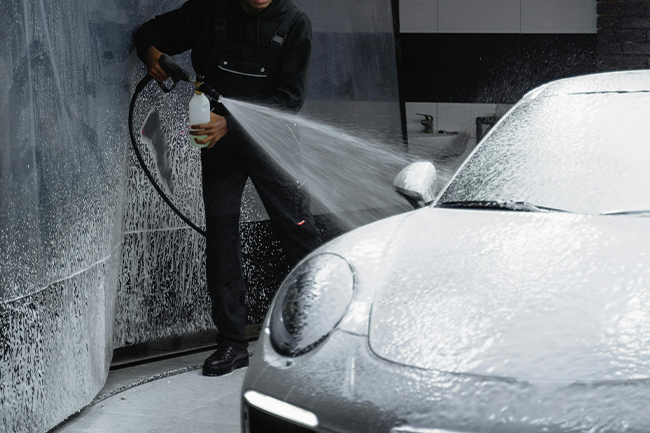
Now, this is the real first step! You’ll want to take your water bottle and start cleaning up the area around the decal with the soapy water you’ve got. This step helps loosen any dirt or debris that trapped itself under the adhesive, making it much easier to clean up. Once you’re done spraying the water, let it soak for several minutes. If you’ve got a particularly stubborn decal on your hands, then let it soak for a longer period—up to 30 minutes should do the trick.
Step 3: Start Peeling
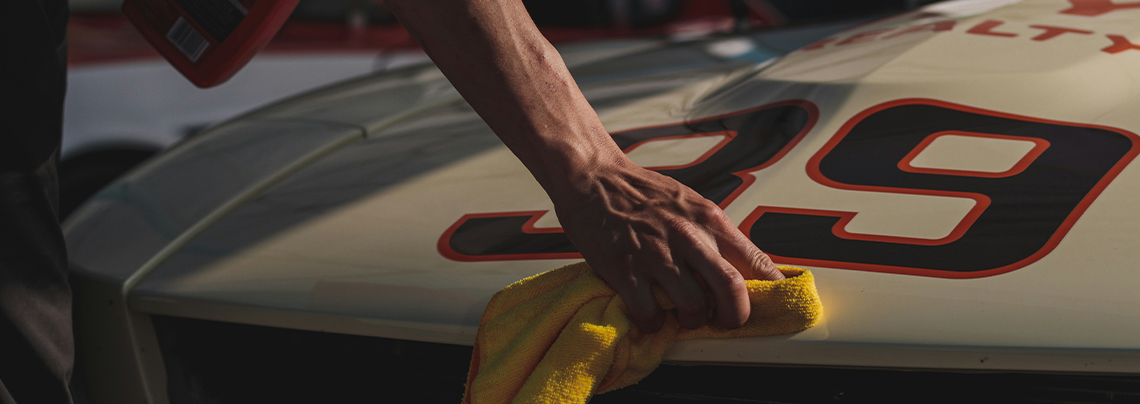
Once you’re done softening up the adhesive, start to gently peel the corner of the custom decal away. If it doesn’t come off easily, then you’ll want to use the plastic scraper you have on you to lift the edge carefully. Start working slowly and gently to separate the decal from the vehicle. You’ll want to avoid using too much force, as that can scratch up the paint. If you are working on a bigger decal, then peel and scrape it off in smaller increments for better control.
Step 4: Cleaning Up, Again!
After you are done removing everything, you might still see some adhesive residue on your car. Bring out the microfiber cloth and damp it with some warm, soapy water. Then, you want to use it to wipe away any residue from the car. When dealing with a more stubborn type of residue, we recommend
You apply a bit of rubbing alcohol or even the decal remover to the area. Let it sit for a few minutes, and then wipe it off with your microfiber cloth. Once you remove all of the residue, rinse and dry the area to keep your car looking clean. Don’t forget to test any cleaning solution you are planning to use on a small area of your car first to make sure the solution doesn’t damage the paint in a way you don’t want it to.
Final Thoughts
That’s everything! It should be easy for you to remove every decal you come across now! We recommend waiting for a while before you decide to place another decal in the area. You’ll want to let it breathe to avoid damaging the paint job.