Using decals and stickers on your company vehicle is a great way to bring in new clients to your business. If you don’t know how to apply a decal, then this guide is for you.
Study shows that 97% of the people who see ads on vehicles recall them. – Linkedin
Creating a marketing campaign is crucial for businesses that wish to survive in an hyper-competitive field. Branding your company vehicle is a great way for people to start noticing who you are and what you do in the industry.
For companies that require their employees to directly go to their client’s homes, the vehicle will become your main source of advertising.
But what if you’ve just started your company and haven’t got a clue about applying your company logos and colors on the company vehicle? This is where we can help.
Today, we will be showing you a useful and simple guide to applying your decals
Step 1: Secure and Prepare the Surface
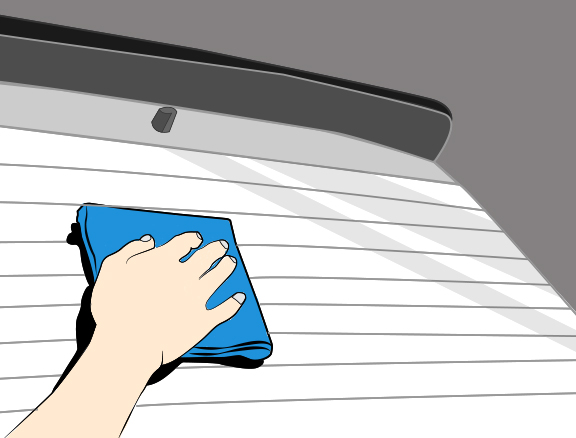
Although this is only the first step, it is also the most important. You need to clean and prepare the surface you’ve chosen so that there is no dirt, grease, oil, or any residue on it. Not doing this properly will prevent the decal’s adhesive from properly sticking onto the surface.
Do not use any glass or window cleaning products. Most of these products will leave film and residue behind, preventing your decal from sticking. Instead, you can use isopropyl rubbing alcohol or soap and hot water to prep the surface.
Once done, make sure that the entire surface is dry. We recommend using a cloth made from microfiber to clean the glass and start the drying process.
Step 2: Find the Ideal Location
While it’s easy to determine where you’re going to place the custom decal, it will require measurement. We recommend that you use a tape measure and masking tape so that the decal won’t be crooked.
If you are using larger decals, using masking tape is necessary. Otherwise, using measurement is more of a preference than something that is absolutely required. Don’t forget, the decal that you apply can’t be repositioned. So take as much time as you need to apply the decals.
Step 3: Start Peeling Away
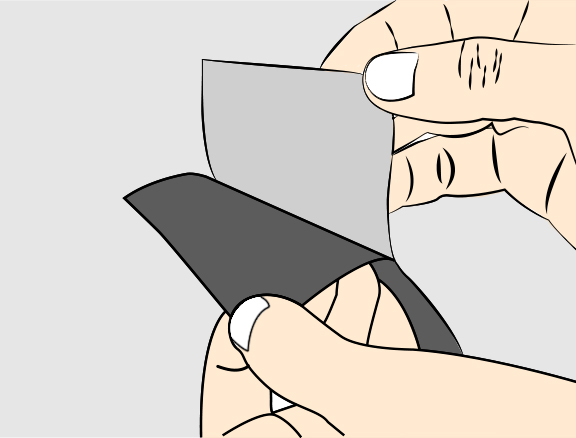
Once you’ve prepared the location for application, it’s time to turn your attention to the decal. The first thing you want to do is to peel the backing. You have to be careful about the size of the decal because you will have to choose between removing the back in a single motion or taking it off slowly.
The general rule is like this: If the decal is shorter than your forearm, then you can peel off the entire decal off its backing.
If the decal is bigger, then make sure you peel only a few inches off. This prevents any dust or dirt from getting into the adhesive.
Step 4: Apply the Vehicle Decals
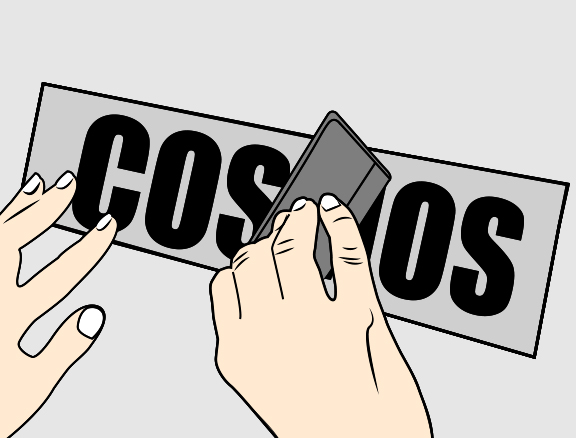
For maximum accuracy, use the measurements you look at earlier as your guide. Follow the guide you’ve made and slowly the decal on the surface of the vehicle. We recommend you use something with a straight edge, like a credit card, to slowly smooth out the decal.
Remember to keep the decal pulled tight as you begin pressing it into the vehicle. Doing this prevents bubbles and wrinkles from showing up.
As you slowly apply the decal, begin peeling off the backing as you go. Peel off a few inches at a time to make sure that the decal is applied straight without worrying about it sticking to places you don’t want it to.
Once all of the decals are applied, leave the transfer tape on the decal while waiting for it to try out. We recommend that you wait for at least 30 minutes before removing the transfer tape. This ensures that you won’t pull any of the decals off when you remove it.
To hasten the process, we recommend that you put the car and decal in the presence of direct sunlight.
Step 5: The Last Lap is Here
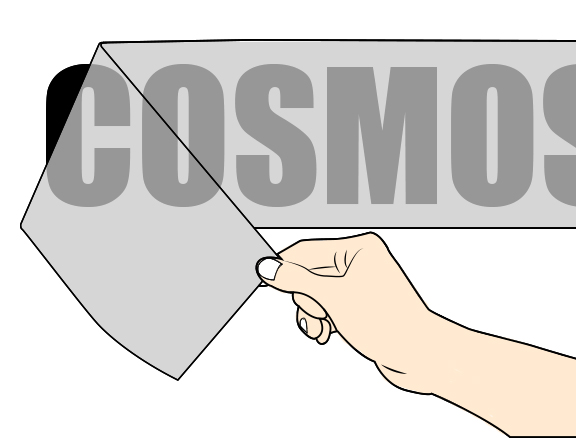
Once the recommended time has passed, it is time to peel off the transfer tape. Start peeling from one corner of the decal. Make sure that you peel the decal off slowly and steadily. Keep an eye out for places where the decal may come off with the transfer tape.
Should the decal begin coming off with the transfer tape, press the tape and the decal back into position. Start peeling off the decal in another direction. Make sure that you don’t tear the decal while removing the tape.
Once the transfer tape is off, it’s time to take out the credit card again. You may see some bubbling on the decal. That’s normal and easy to smooth out. Just use the credit card you have on you and push the bubble toward the edge.
If you are looking at your decals for cheap, don’t forget to consider what finishing you want it in. There are plenty of options to choose from.
Final Thoughts
There you have it! By following this guide, you’ll have a much easier time applying decals and stickers to your vehicle. Even if you are just starting out, you can start succeeding right away.
Recommended blog: Let’s Learn Together: Applying Custom Decals

