
Things wear out and break; this is something that is unavoidable. Repairs and maintenance are often needed to keep your stuff in pristine shape. This, in turn, gave rise to many DYI (Do It Yourself) ideas and projects. The “Do It Yourself” trend has risen over the past few years. Doing repairs means that you won’t have to rely on professionals to do the fixing for you. But how do you fix something that you don’t know anything about? Well, that’s what we’re going to be talking about today.
Now imagine this scenario: You’ve got a limited edition sticker, something that you got years ago from a brand you love. One day, it suddenly peels off from your laptop, and you can’t put it back. Now, you love this sticker, and it’s the only one of its kind, so you can’t exactly throw it in the rubbish bin. Don’t worry, you don’t have to do something so drastic. We’ve made this guide so you can make your stickers sticky again without having to pay people to do it for you.
Let’s get started!
What Causes Stickers to Lose Its Stickiness?
Before we get into the meat of things, it is essential to know what causes your stickers to affect their ability to stick onto surfaces. Knowing the cause lets you determine what to do and how to make it sticky again. Here are some common reasons why this happens:
- Debris and Dirt on the Surface – if you’ve placed your stickers on surfaces with a lot of dust, debris, and dirt, they will lose their stickiness. Tiny particles can interfere with the adhesive and weaken the sticker’s bond with its surface.
- Being Used on Unsuitable Surfaces – Similar to how a dusty surface weakens the adhesive, placing the sticker on an unsuitable surface shortens its life span. Places with oils, residues, etc., because of this, the sticker can never stick well. You should also ensure the material is durable to prevent it from getting destroyed. Something like bumper stickers would be perfect.
- Harmful Adhesives – There are times when the adhesives themselves are the problem. Of course, their effectiveness degrades over time, but if you find that the stickers aren’t sticking correctly despite being brand new, then you may have bad adhesives.
- Just Time – As mentioned, a product deteriorating over time is unavoidable. As the years go by, the adhesive will gradually dry out and lose its stickiness. This issue tends to be limited to older stickers but may also happen to new ones.
Now that you know the most common reasons for stickers losing their stickiness, we can start looking at how you can restore your stickers to their former glory.
Restoring Your Sticker
Knowing a different range of methods will help you when dealing with other issues, such as if the sticker is peeling or just non-sticky. Here are some techniques that we recommend you try out:
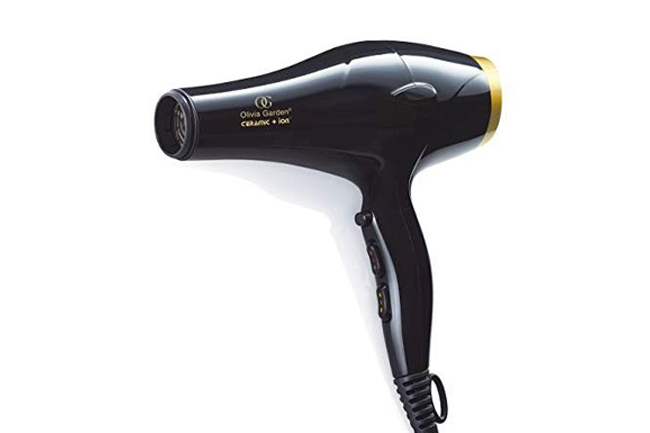
- Using Heat
Materials needed: For this method, you’ll need a hair dryer or a heat gun if you have it.
What to do: The first thing you’ll need to do is start out with a low heat level. Set that on your heat gun or hair dryer, then hold it a few inches away from the sticker. Next, you should slowly apply the heat evenly to the sticker’s surface and gradually increase the heat until it feels malleable. Now, you can start to press it down. Be sure to use a firm, even pressure to the surface, and ensure the sticker adheres again. Here’s a quick tip: hair dryers are better for most stickers, especially delicate product labels you’d like to protect.
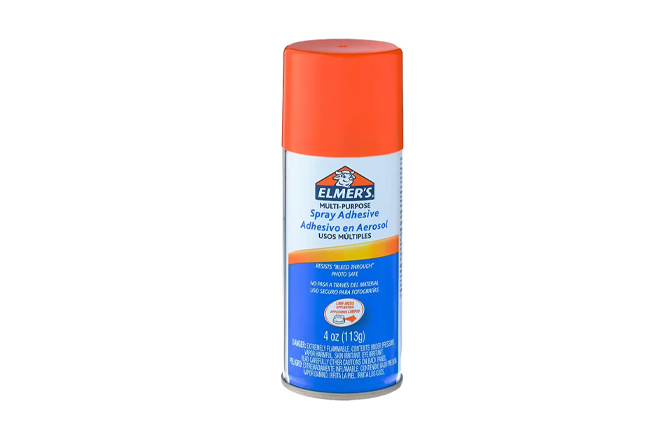
- Adhesive Spray
Materials needed: For this one, you should get yourself an adhesive spray bottle.
What to do: Place your sticker face down on a flat surface. We recommend a piece of cardboard to avoid letting the spray stick to other things. Next, you’ll want to evenly coat the back of your sticker evenly with the spray. Wait for a minute or two for the spray to set. Once done, you can return the sticker to where it was before.
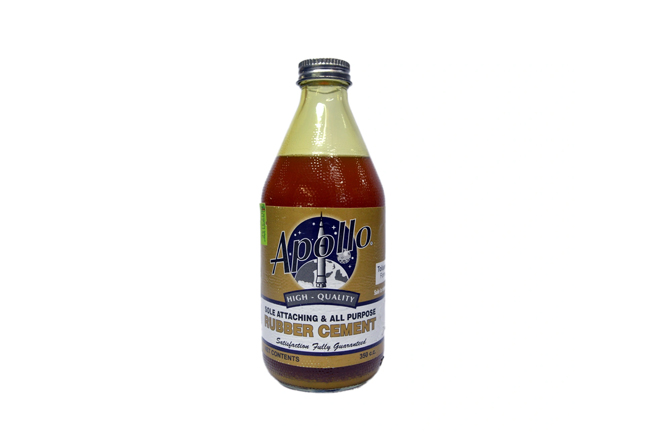
- Rubber Cement
Materials needed: The main material you’ll need is simply some rubber cement.
What to do: The first thing you’ll need to do is apply a thin layer of rubber cement onto the back of the sticker. Wait for it to dry a bit, giving it a sticky state. Then, place the sticker on the surface and gently press it down. This process will essentially create a new adhesive for your stickers.
Final Thoughts
And that’s all! Depending on your type, we recommend trying each method to see what best suits your needs. While working on adding stickiness to your items, you should be careful about their design. If done hastily, you may damage the product and lose its design.